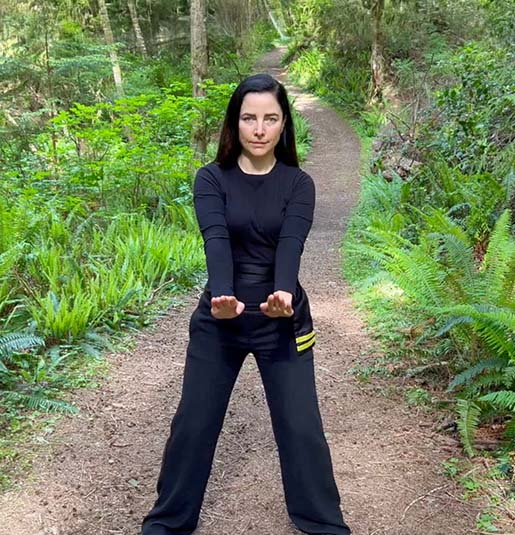
What Sil Lim Tao is for
The name Sil Lim Tao translates as "a little idea". I like that translation because it describes exactly how the form works. It is not about power or speed. It is the seed of an idea that, planted correctly and looked after patiently, grows into everything else in Wing Chun.
Most beginners treat the form as a sequence of movements to memorise. That is understandable, because from the outside that is what it looks like. But Sil Lim Tao is really a structural training method disguised as a form. The sequence is just the container. What you are building inside it is:
- Stance and rooting. The form begins in the stance and never leaves it. Your feet stay planted for the whole form, so all of your attention can go to structure.
- Elbow energy. The driving force behind Wing Chun's short-range power. It depends on relaxed, dropped shoulders and elbows that stay in position.
- Hand technique foundations. Tan Sao, Fook Sao, Wu Sao and Bong Sao, with their correct positions and angles. See Wing Chun hand techniques for each one.
- Nim Lik. Idea force: the internal concept of generating and sustaining force without relying on speed or momentum.
- Yi. Intent: your focused attention and how it guides movement and force.
- Economy of motion. Using exactly what is needed and nothing more, which is the heart of Wing Chun's principles and centerline theory.
Get these wrong here and every later form, every technique and every Chi Sao session carries the error forward. Get them right and you have a foundation for life. For more on the background of the form, read my post What Is Sil Lim Tao? Wing Chun's First Form Explained.
The broad sections and what they train
Sil Lim Tao is taught in sections, and you learn it one section at a time rather than all at once. I am deliberately keeping this at the level of purpose rather than listing every movement, because the exact order and number of repetitions differ between lineages and you should follow the sequence your own instructor teaches.
What matters for practice is this: the first two sections are performed at a steady, deliberate pace while you build the shapes, the positions and the connection between your stance and your hands. One section, the third in the way I teach it, is performed much more slowly than the others. That slowness is not a style choice. The slow section is specifically there to develop Nim Lik, to train you to generate and hold force without speed or momentum helping you. It is one of the most challenging things in Wing Chun to do well, and one of the most rewarding when you begin to feel it working.
Lineages differ. I teach Traditional Wing Chun as it was passed down to me by Master Brian Lewadny, who learned it from Grandmaster William Cheung. Some schools teach mainstream Wing Chun, others teach Traditional Wing Chun, and section order, stance details and names vary. If your instructor's version differs, follow your instructor. The practice principles below apply either way.
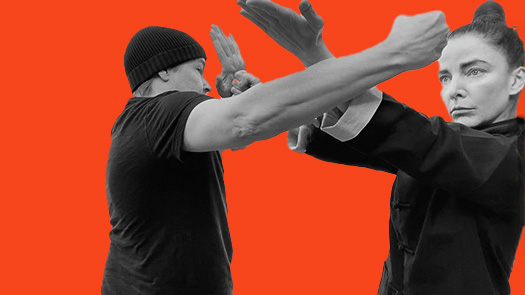
Set up your stance first
Before the first hand moves, settle the stance. Feet about shoulder-width apart, knees softly bent and tracking over the toes, spine upright, weight evenly shared between both feet, shoulders relaxed. In Traditional Wing Chun the feet are not turned inward. If you train in another line your foot position may differ; the goals of an upright, rooted, relaxed structure are the same. My post on Wing Chun stances explains the stance in more detail.
Common stance errors are making it too wide, which kills mobility, or too narrow, which kills stability. Take a few breaths in the stance before you start. If it does not feel settled, the form will not either.
How slowly to practise
Slower than you think. The most common Sil Lim Tao mistake I see is rushing to get through it so you can move on to the "real" training. Sil Lim Tao is the real training. Every rushed repetition reinforces the wrong habits.
As a guide, in my sample home sessions I allow 10 to 15 minutes for one or two slow, mindful repetitions. The slow section should be noticeably slower again. If you cannot perform a section slowly and precisely, you are not ready to perform it fast. Speed hides errors in elbow position and wrist alignment; slowness shows them to you.
A useful rule: focus on one quality per session. Relaxed shoulders in one session, wrist position in the next, centerline connection in another. Trying to fix everything at once produces less improvement than single-quality focus.
Breathing
Keep breathing simple. Breathe slowly and naturally, in through the nose, and never hold your breath to "power" a movement. Held breath is almost always a sign of tension somewhere, usually in the shoulders or jaw. When you catch yourself holding it, pause, let the breath settle, drop the shoulders and continue.
Finish each practice by standing quietly in the stance for a few breaths. It sounds small, but that moment of stillness teaches you to notice tension, and noticing tension is the first step to removing it. If you want to go deeper into breath and intent, my Qigong and Wing Chun guide explains how Qigong connects to Nim Lik and Yi.
How often to practise
Practise Sil Lim Tao at least once a day. Twenty to thirty focused minutes on five or more days a week is ideal; if life is busy, aim for at least three or four days. Twenty focused minutes beats ninety distracted minutes, and daily repetition builds muscle memory in a way occasional long sessions cannot. My daily practice routine shows where Sil Lim Tao fits in 15, 30 and 60 minute sessions.
Practice plan: one week of Sil Lim Tao
- Every day: 2 minutes settling the stance, then one slow repetition of the sections you know.
- Days 1 and 4: focus quality = shoulders relaxed and dropped.
- Days 2 and 5: focus quality = elbow position and centerline.
- Days 3 and 6: focus quality = wrist and hand shapes.
- Day 7: record one full repetition from the front and one from the side, then review with the checkpoints below.
Video checkpoints for self-correction
Recording yourself and comparing your video to your instruction is one of the best ways to spot differences you cannot feel. Film from the front and from the side, at roughly chest height, with your whole body in frame. Then watch it back with this checklist:
- Shoulders: do they rise when the hands move? They should stay relaxed and dropped throughout.
- Elbows: do they drift outward? Elbows that flare open the centerline and leak elbow energy.
- Centerline: do the hands travel on and protect the centerline, or wander to the side?
- Spine: from the side view, are you upright or leaning forward?
- Knees and feet: do the knees track over the toes? Do the feet stay planted and still for the whole form?
- Head: does it stay level and quiet, or bob and lean as the hands work?
- Pace: is the slow section genuinely slower, and smooth rather than jerky?
- Wrists and hands: compare each hand shape against your reference video, frame by frame if you need to.
Pick the single biggest difference and make it next week's focus quality. Do not try to fix all of them at once.
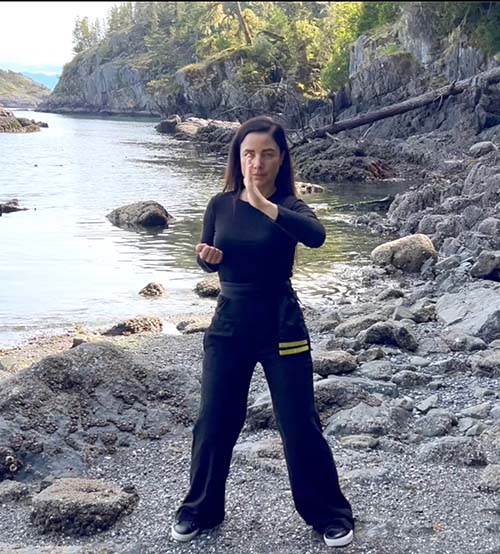
Common Sil Lim Tao mistakes
Rushing
Covered above, and worth repeating because it is the most common. If your form feels easy, slow it down until it doesn't.
Tense shoulders
Most beginners tense the shoulders without realising it. Shoulder tension dissipates elbow energy, which is the source of Wing Chun's short-range power. Check them at every transition and let them drop.
Neglecting the stance
The stance is not just where you stand while the hands do the work. If your weight distribution is off, your elbow energy is compromised. If your knee angle is off, your rooting is compromised. Train it like it matters, because it does.
Elbows drifting outward
The elbow should stay in position, guarding the centerline. When elbows flare, techniques lose strength and the centerline opens.
Treating it as a memory test
Knowing the sequence is the start, not the goal. The basic movements can be learned in weeks; understanding the structure takes years, and even experienced practitioners keep refining it. More beginner errors are covered in 12 common Wing Chun beginner mistakes.
Where Sil Lim Tao leads
Once your Sil Lim Tao is solid, Chum Kiu adds turning, stepping and kicks, and later Biu Jee deals with recovering when structure is compromised. Chum Kiu acts as a diagnostic for your first form: when something fails there, the fix is almost always back here. If you are training alone, the guide to learning Wing Chun online and the home training setup page will help you organise your space. If you want structured feedback on your form, my online course includes graded video exams at each level.
Frequently asked questions
How long should one Sil Lim Tao take?
There is no fixed time, but it should feel slow. In my sample home sessions I allow 10 to 15 minutes for one or two slow, mindful repetitions. If you finish in a minute or two, you are almost certainly moving too fast to feel your structure.
How often should I practise Sil Lim Tao?
At least once a day if you can. Twenty to thirty focused minutes on most days of the week builds the habits faster than one or two long sessions. Even advanced practitioners keep coming back to it daily.
Why is part of Sil Lim Tao performed so slowly?
The slow section is there to develop Nim Lik, or idea force: generating and sustaining force without relying on speed or momentum. Moving slowly also exposes tension and errors that speed would hide.
How should I breathe during Sil Lim Tao?
Breathe slowly and naturally, in through the nose, and never hold your breath. If you notice you are holding it, that usually means you are tensing somewhere, often in the shoulders. Let the breath settle before you continue.
When am I ready to move on to Chum Kiu?
When the basic structure, elbow energy and foundational hand techniques are well established and you can perform the whole form slowly from memory without losing your stance. Your instructor should confirm this. Rushing into Chum Kiu is a common cause of structural problems later.
Next: Chum Kiu practice guide · daily practice routine · all lessons